KeY Resources
KeY Resources provides the “KeY project” with automatic background proofs. Such projects extends the functionality of a Java project by maintaining automatically proofs in background. This means that the tool tries to do proofs automatically whenever files in a project change. Markers are used to show the proof result directly in the source editor.
The following sections illustrate the main features of KeY Resources using screenshots. Each section contains numbered screenshots that explain a usage scenario step by step. Clicking on each picture produces a more detailed view. The screenshots may differ from the latest release.
Prerequisites
KeY Resources is compatible with Eclipse Indigo (3.7) or newer.
Required update-sites and installation instructions are available in the download area.
Create a KeY Project
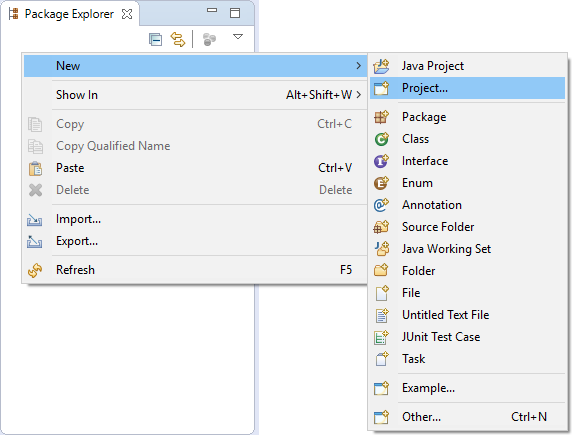
Open new project wizard via Package Explorer context menu item “New, Project…”.
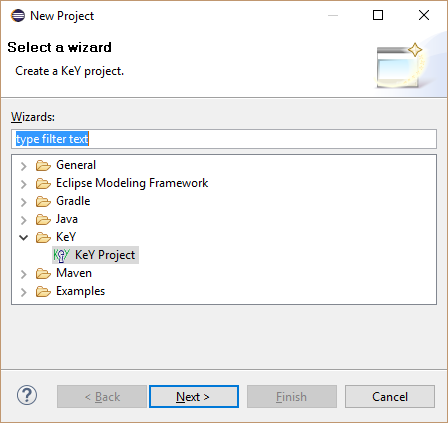
Create a KeY Project Select “KeY Project”.
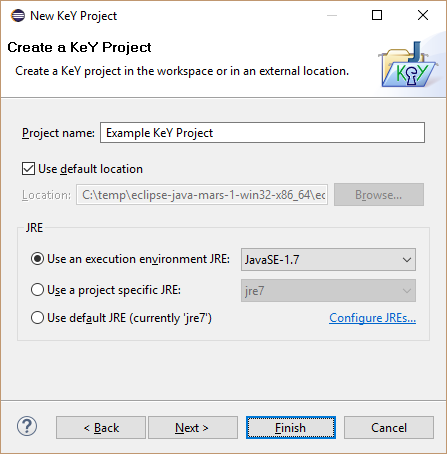
Create a KeY Project Define project name and finish the wizard.
Create a KeY Project
Work with a KeY Project
Edit source code as normal and save it.
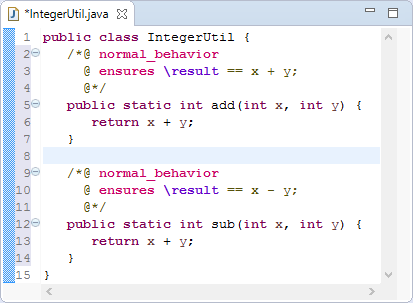
Work with a KeY Project During build proofs are automatically executed and results are shown via marker.
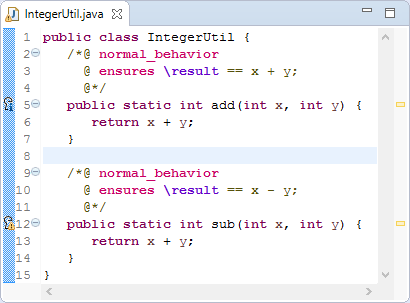
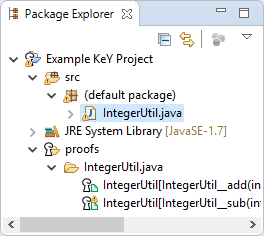
Work with a KeY Project Proofs are automatically maintained in folder “proofs”.
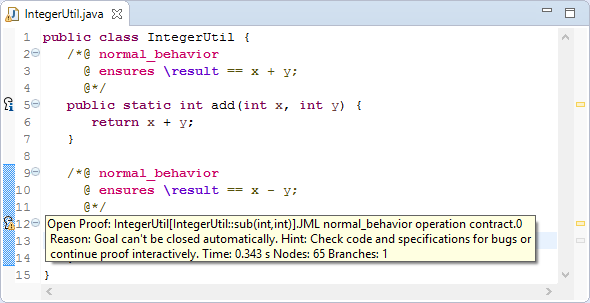
Work with a KeY Project Tooltip of a marker explains the proof state and give hints how to continue.
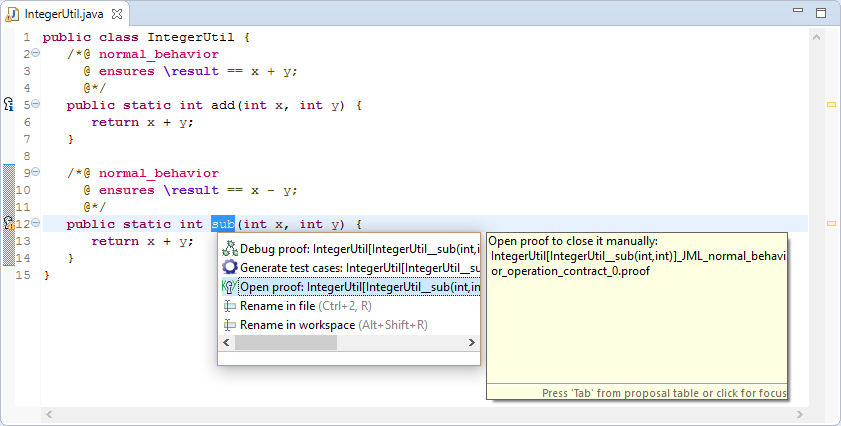
Work with a KeY Project Proof files can be opend in KeY or the KeY IDE via a marker by selecting “Open proof” to inspect and finish the proof. In addition, a proof can be inspected in the SED via marker menu item “Debug proof”.
Work with a KeY Project
Inspect verification status
Select main menu item “Window, Show View, Other…”.
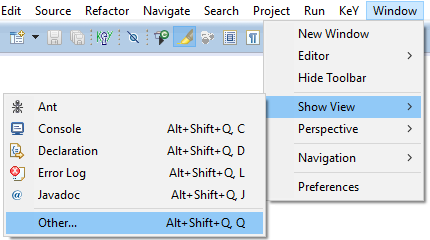
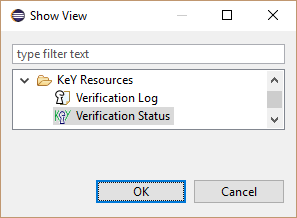
Customize build settings Open view “Verification Status”.
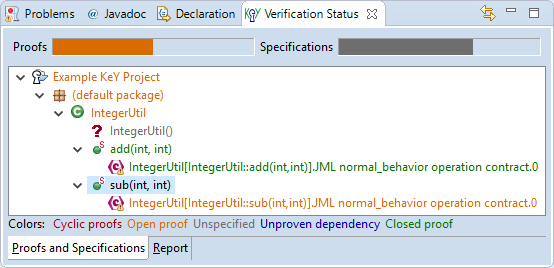
Customize build settings Colors of tree items indicate verification stati.
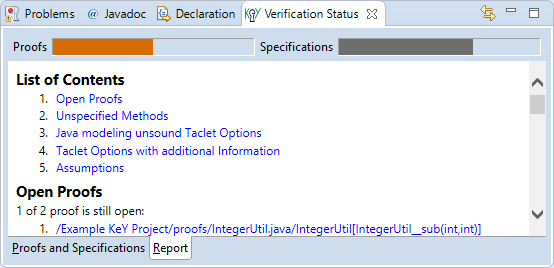
Customize build settings HTML report lists tasks and assumptions used by proofs.
Customize build settings
Inspect verification log
Select main menu item “Window, Show View, Other…”.
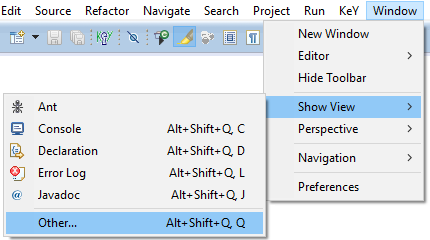
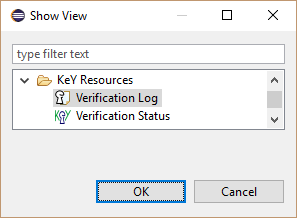
Customize build settings Open view “Verification Log”.
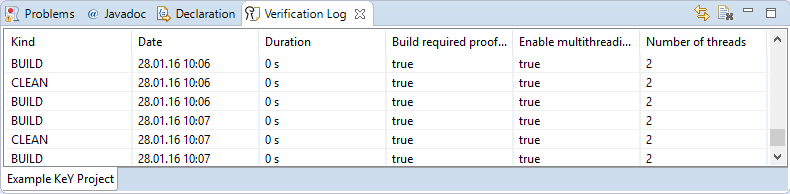
Customize build settings Table shows used settings and times of performed verification tasks.
Customize build settings
Customize build settings
Open project properties of a KeY project via context menu item “Properties”.
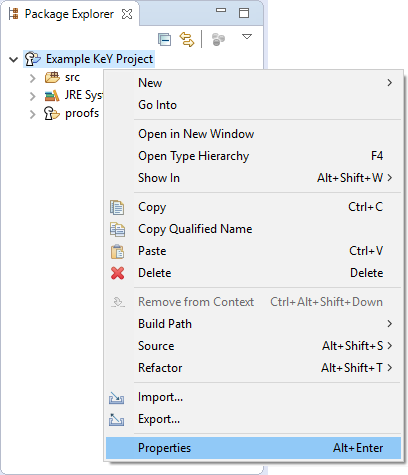
Customize build settings Select properties page “KeY, KeY Proof Management” and customize build settings, e.g. enable counter example and test case generation.
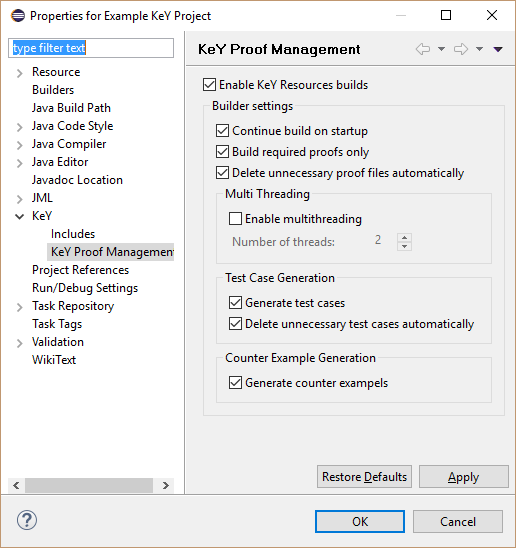
Customize build settings
Generated Test Cases
Generated test cases are maintained in an additional Java project. In addition, a test suite which executes all test cases is generated.
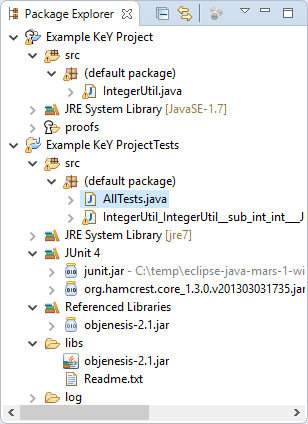
Inspect a counter example
Counter examples can be opend via a marker by selecting “Show Counter Examples”.
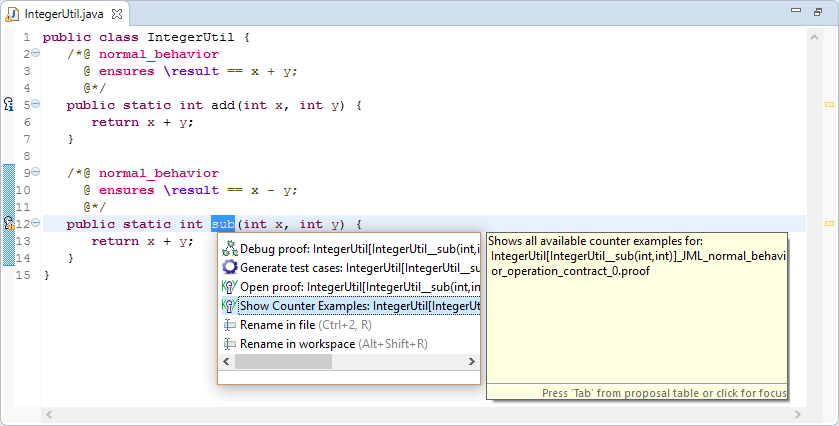
Inspect a counter example Inspect the opened counter example.
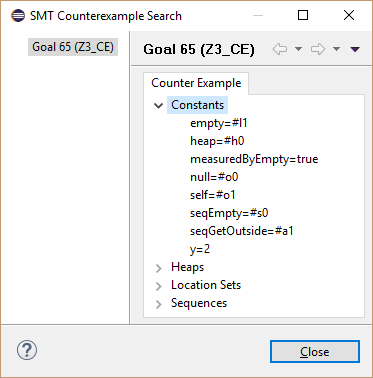
Inspect a counter example
Convert a Java Project into a KeY Project
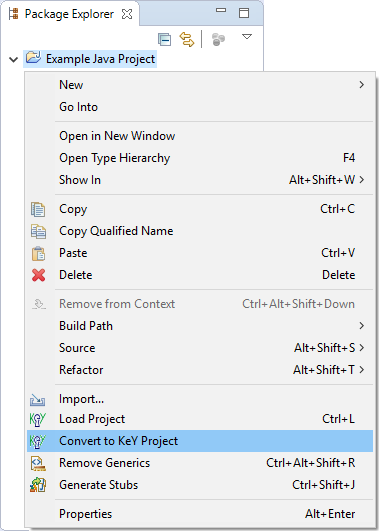
- Select “Convert to KeY Project” in the context menu of a Java project.
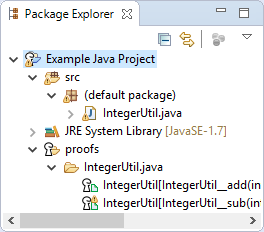
- Proofs are automatically maintained after conversion.
Convert a Java Project into a KeY Project